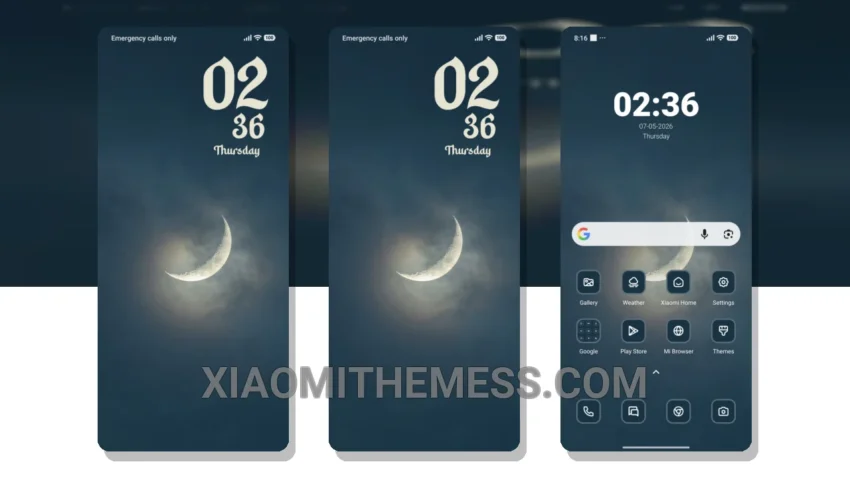
I love deep MTZ themes that change the control center, status bar, and icons. The Crescent Moon theme is one of them. It’s a great Xiaomi theme that will transform your phone’s look completely. With this theme, you get a custom control center that looks amazing. The theme is fully compatible with HyperOS, MIUI 12, MIUI 13, and MIUI 14.
The Crescent Moon theme has a lot to offer. It gives you a redesigned status bar that looks sleek and modern. You also get advanced widgets that make your home screen look aesthetic. The theme is designed to be lightweight, so you don’t have to worry about battery drain. One of the best things about this theme is its dark mode optimization, which helps save battery life.
Another great feature of the Crescent Moon theme is its compatibility with icon pack integration. You can customize your icons to give your phone a personalized look. The theme also supports custom boot animation, which is a nice touch. However, the theme does not have dynamic island integration, which might be a caveat for some users.
Overall, the Crescent Moon theme is a great choice for anyone who wants to customize their Xiaomi phone. It’s easy to apply, and the results are amazing. The theme is also compatible with a range of Xiaomi devices, including Redmi phones.
In my testing, I found the Crescent Moon theme to be very smooth and lag-free. The 120Hz smooth animations make a big difference in the overall user experience. To be honest, I’m impressed with the level of customization this theme offers. If you’re looking for a theme that will give your phone a fresh new look, the Crescent Moon theme is definitely worth checking out.
Theme Information
🛠️ How to Install This MTZ Theme
- Download the MTZ file to your device.
- Open the official Themes app and go to your profile.
- Import & Apply the downloaded file.