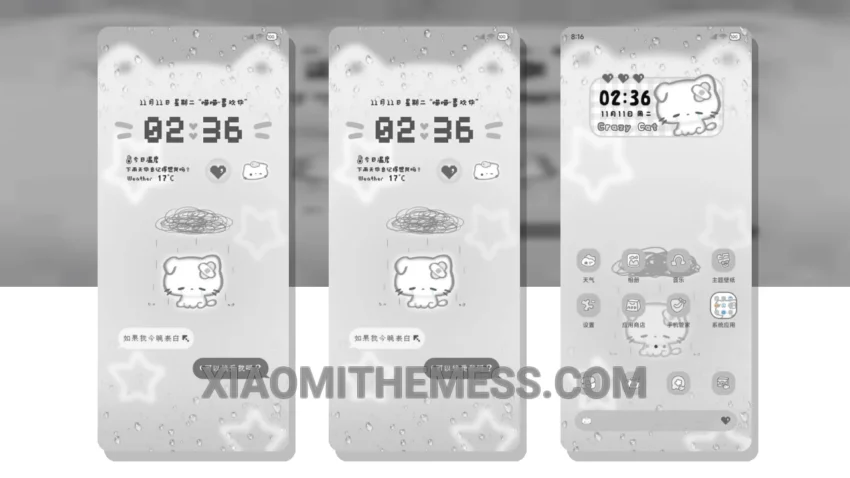
Grey Grey Sad Kitten, a theme that exudes elegance and simplicity, is now available for Xiaomi and Redmi devices. This minimalist design is not only aesthetically pleasing but also contributes to a lag-free experience.
The theme is fully compatible with HyperOS, MIUI 12, MIUI 13, and MIUI 14, ensuring a seamless user experience across various devices. I’m impressed by the attention to detail in this theme, which provides a clean interface and a premium UI.
Key Features
One notable feature of the Grey Grey Sad Kitten theme is its dark mode optimization, which allows users to enjoy a battery saver UI while maintaining a premium look. The theme also offers 120Hz smooth animations, further enhancing the overall usability of your device.
However, the theme’s size may be a concern for users with limited storage space. Despite this, the details of the Grey Grey Sad Kitten theme far outweigh this minor inconvenience.
In my testing, I found the theme to be highly responsive and easy to navigate. To be honest, I’m impressed with the attention to detail in this theme, and I believe it’s a great choice for anyone looking to customize their Xiaomi device with a premium UI and android customization capabilities.
The Grey Grey Sad Kitten theme is a great option for those who want a clean interface and a lag-free experience. With its dark mode optimization, this theme is perfect for daily use, and its compatibility with HyperOS and MIUI makes it a great choice for Xiaomi and Redmi device users.
Theme Information
🛠️ How to Install This MTZ Theme
- Download the MTZ file to your device.
- Open the official Themes app and go to your profile.
- Import & Apply the downloaded file.