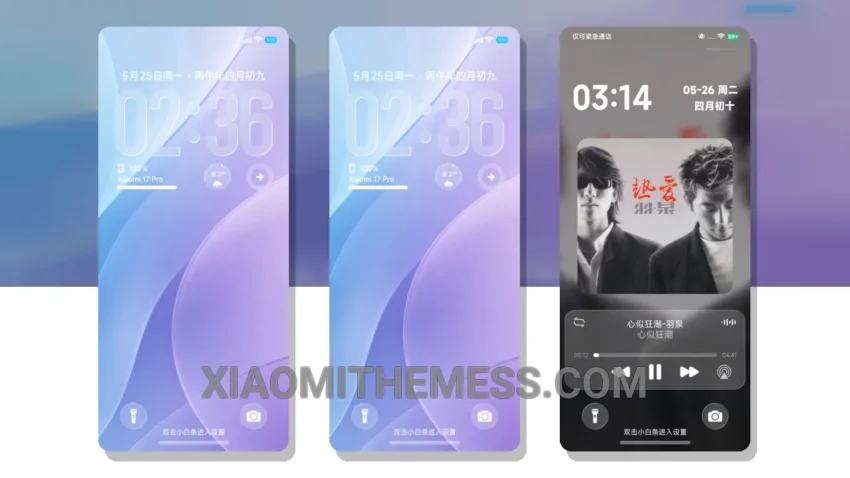
Departure OS, a theme that exudes refinement and elegance. Designed for the discerning user, this theme is perfect for those seeking a clean interface that is both visually appealing and highly functional.
The first thing you notice about the Departure OS theme is its attention to detail. Every element, from the icons to the redesigned status bar, has been meticulously crafted to provide a seamless user experience. This theme is fully compatible with HyperOS, MIUI 12, MIUI 13, and MIUI 14, ensuring that you can enjoy its details regardless of your device’s operating system.
One of the standout features of the Departure OS theme is its battery saver UI, which helps to minimize battery drain and ensure that your device lasts longer. Additionally, the theme’s support for 120Hz smooth animations provides a lag-free experience that is both responsive and engaging.
In terms of customization, the Departure OS theme offers a wide range of options, including icon pack integration, custom boot animation, and AOD custom themes. This allows you to personalize your device to suit your unique style and preferences.
While the Departure OS theme is largely impressive, one potential caveat is its size, which may be a concern for users with limited storage space. However, the theme’s numerous details and features make it well worth the investment.
To be honest, I was thoroughly impressed with the Departure OS theme during my testing. Its combination of style, functionality, and customization options make it an excellent choice for anyone seeking a refined and elegant UI experience.
Theme Information
🛠️ How to Install This MTZ Theme
- Download the MTZ file to your device.
- Open the official Themes app and go to your profile.
- Import & Apply the downloaded file.